

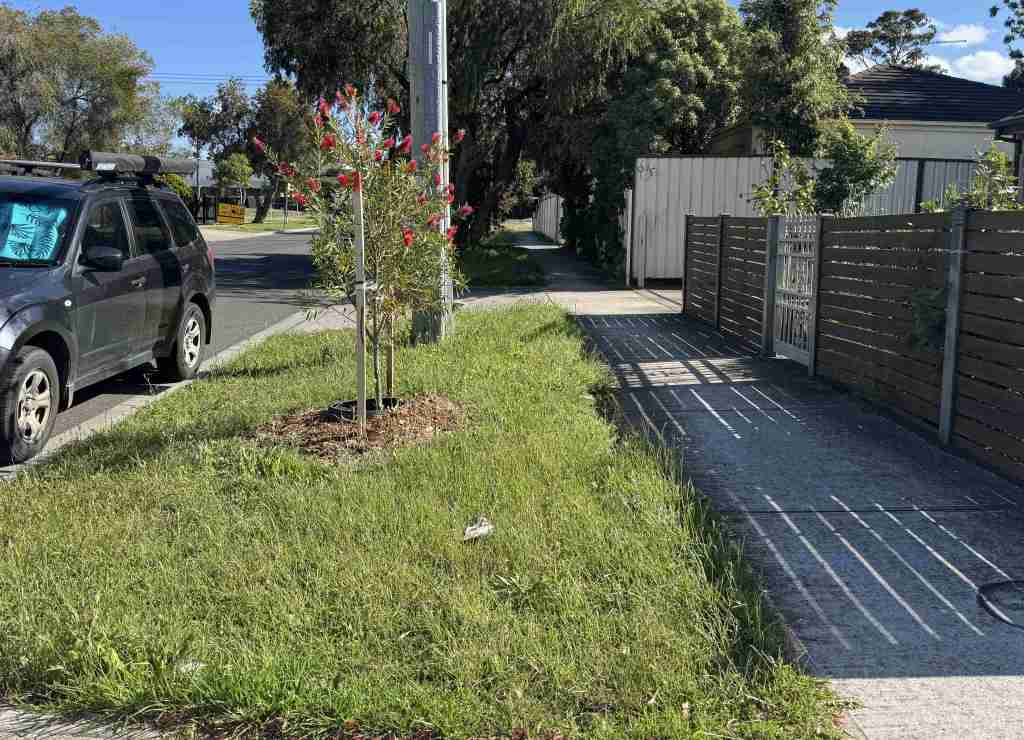
We have been planning to plant a native garden on our nature strip ever since we moved here. I have been admiring other people’s nature strips dotted around the suburb that have been converted from uninspiring lawn to something more creative or beneficial. Each one is unique – some have native gardens for wildlife and birds, some have edible veggie patches or fruit trees, some have exotic flowers, there is even one with a topiary dinosaur!
We wanted to make a native wildflower garden, that would attract birds and pollinator insects and provide food and habitat for them, contributing to the idea of building wildlife and native habitat corridors in urban areas, along the lines of the Gardens for Wildlife initiative. Western Melbourne (Naarm) is built on volcanic plains, and used to be covered in native grasslands and wildflowers. By replacing the lawn on the nature strip with native plants, including many that are locally indigenous to this region, it is a step to restore and care for a small patch of land. It will also bring us a lot of joy in the process, and hopefully our neighbours and passerbys will also be curious about it and love it too.
I’m documenting the main steps we took here in case anyone reading is interested to try something similar on their nature strip.
Before getting to the physical work of transforming the nature strip, there were several preparation and planning steps that I took:
- Look up the local council nature strip garden guidelines. Each council in Australia has it’s own set of rules and requirements. The main ones for my council are that we shouldn’t plant anything in the 90cm closest to the kerb (to allow people to get in/out of parked cars and so rubbish bins can be placed there on bin night), that plants should not grow more than 50cm tall, and that we should not use rocks, gravel, logs, planter boxes etc. You would need to check your council guidelines – some require permits or have other rules.
- Complete a ‘dial before you dig’ internet request. This is to be aware of all the utilities cables and wires (e.g. gas, electricity, NBN, water etc) that might lie under the nature strip and to check whether my proposed minimal hand-digging would be likely to come into contact with any of these assets. Our nature strip has a power pole in it, so we knew we needed to do due diligence on this before digging.
- Collect cardboard boxes and/or newspaper so you will have enough to cover the nature strip, ideally in overlapping pieces, as it’s role will be to help suppress weed growth. Our local corner grocery store kindly gave us some of their empty packaging boxes which were perfect.
- Propagate plants from seeds or cuttings and/or buy seedlings to plant. We grew some from cuttings and seeds, but we also bought quite a few tube-stock from local native nurseries, so we could find plants that are indigenous to our area and that should only grow to about 50cm tall. Tube-stock are a fairly economical way to buy small plants that will quickly grow and adapt to their new environment better than perhaps transplanting a more established bigger more expensive plant. Of course if you have time and opportunity to grow from seed or cuttings, it can be even cheaper 🙂 If you live in Melbourne’s west, a couple of great native nurseries to consider are the Newport Lakes native plant nursery and the Westgate biodiversity Bili nursery.
- Order bulk mulch to be delivered. Or if you have access to free mulch, great. We bought bulk budget mulch from a nearby landscape soil & mulch business that delivers to your driveway. Our nature strip was approx. 8.4 x 3.2 metres in size, so calculated we needed approximately 2 cubic metres of mulch (to layer it 5-10cms deep).
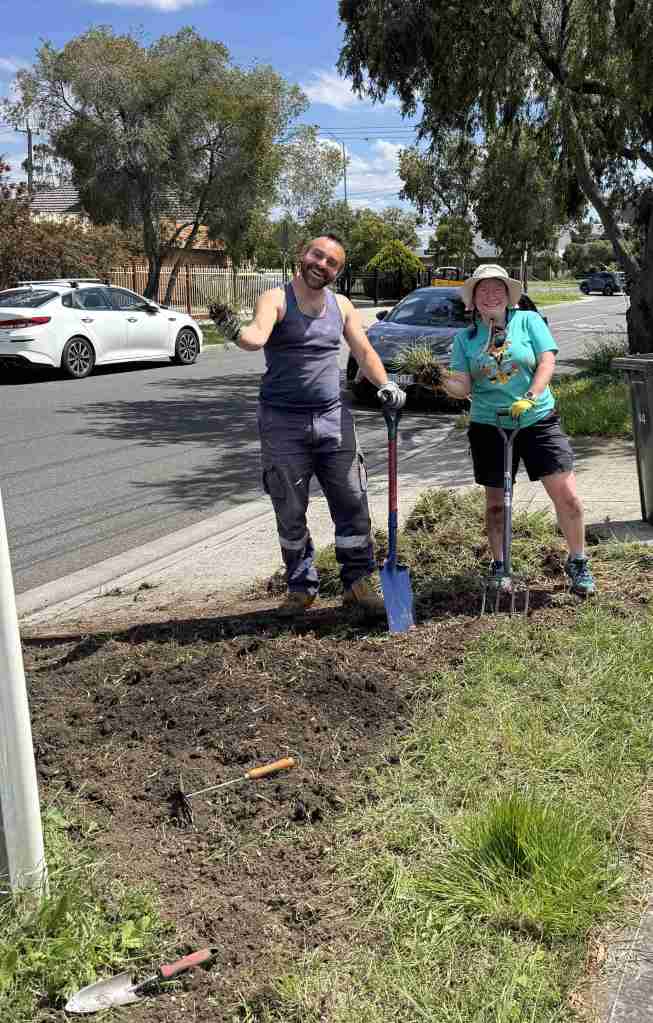
Once all these steps were done we were ready to actually do the work! It took us two full days of labour to transform our nature strip from lawn to native garden. The main steps we took were:
- Step 1: Loosen the grass using a garden fork.
- Step 2: Remove the grass using hand tools e.g. garden spade, trowels etc, while trying to leave as much of the soil behind as possible, and not digging too deep.
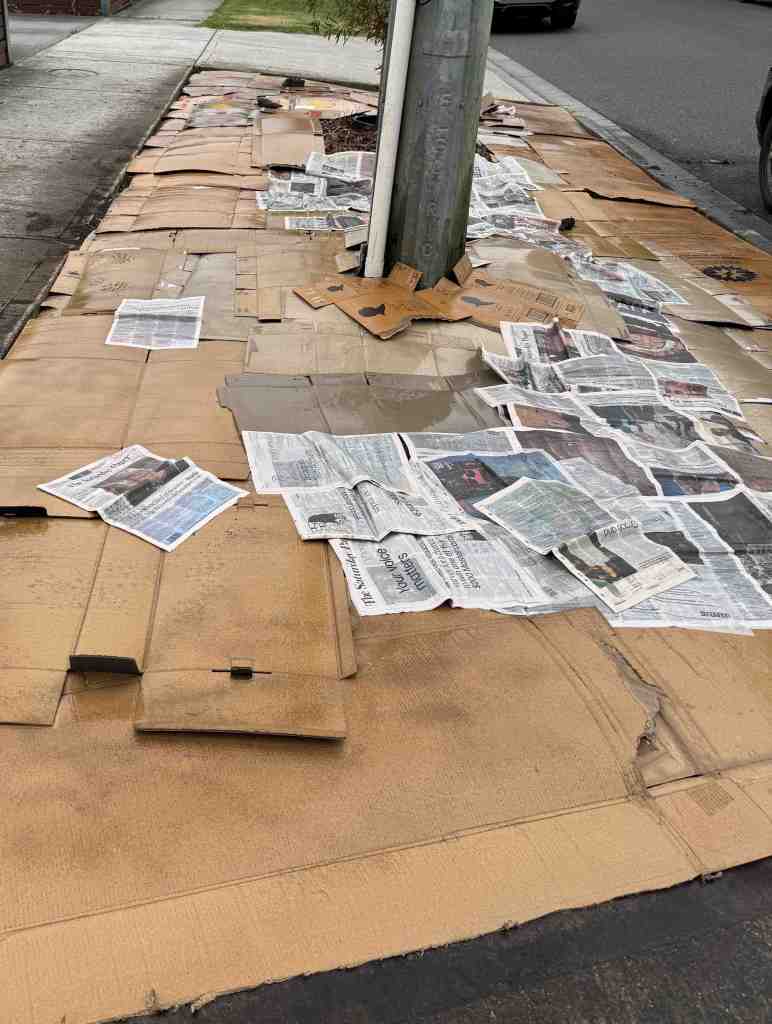
- Step 3: Sort through our cardboard box collections, flatten, then remove sticky tape and plastic labels by hand with a stanley blade.
- Step 4: Put a layer of cardboard/newspaper down over the whole nature strip, trying to overlap the edges. This is to try to suppress weed growth.
- Step 5: Wet the cardboard thoroughly with a hose.
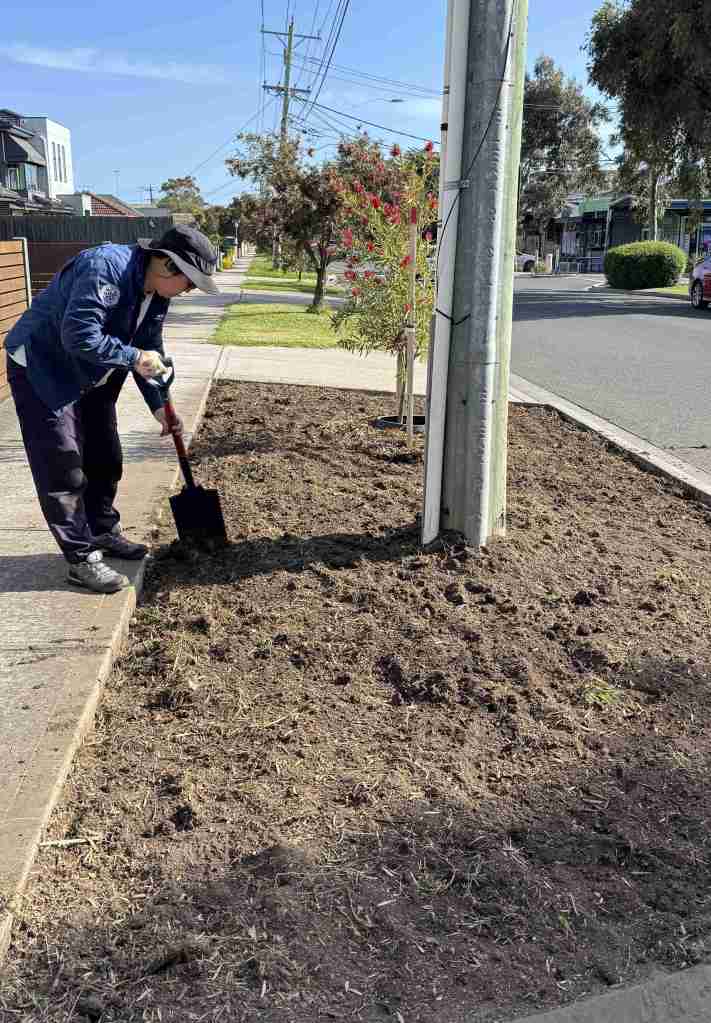
- Step 6: While cardboard is wet, shovel the mulch layer on top. We used nearly 2 cubic metres of budget mulch for our nature strip, aiming for a depth of 5-10cm.
- Step 7: Stomp the mulch down, especially along the kerb and edges to try to make it into a more stable compact surface. Wet down the mulch thoroughly with a hose, then stomp it down some more.
- Step 8: Now for the fun part – lay out your seedlings/plants and decide where you want to position them. Plant them out, add native fertiliser pellets and water in well. Consider if you need to put some kind of protection or signage to prevent accidental damage by people treading on the plants while they are small.
- Step 9: Boring lawn is now well on the way to becoming a native garden. Get ready to enjoy seeing the garden grow, and which pollinators and birds start visiting.


I hope this is helpful if you are planning to transform your nature strip into a native garden. 🙂 Have you transformed your nature strip into a garden? What benefits have you noticed as a result? I’d love to hear from you.
